Audi Symphony II Faceplate Replacement
I am going to show you how to replace the faceplate of an Audi Symphony II radio. 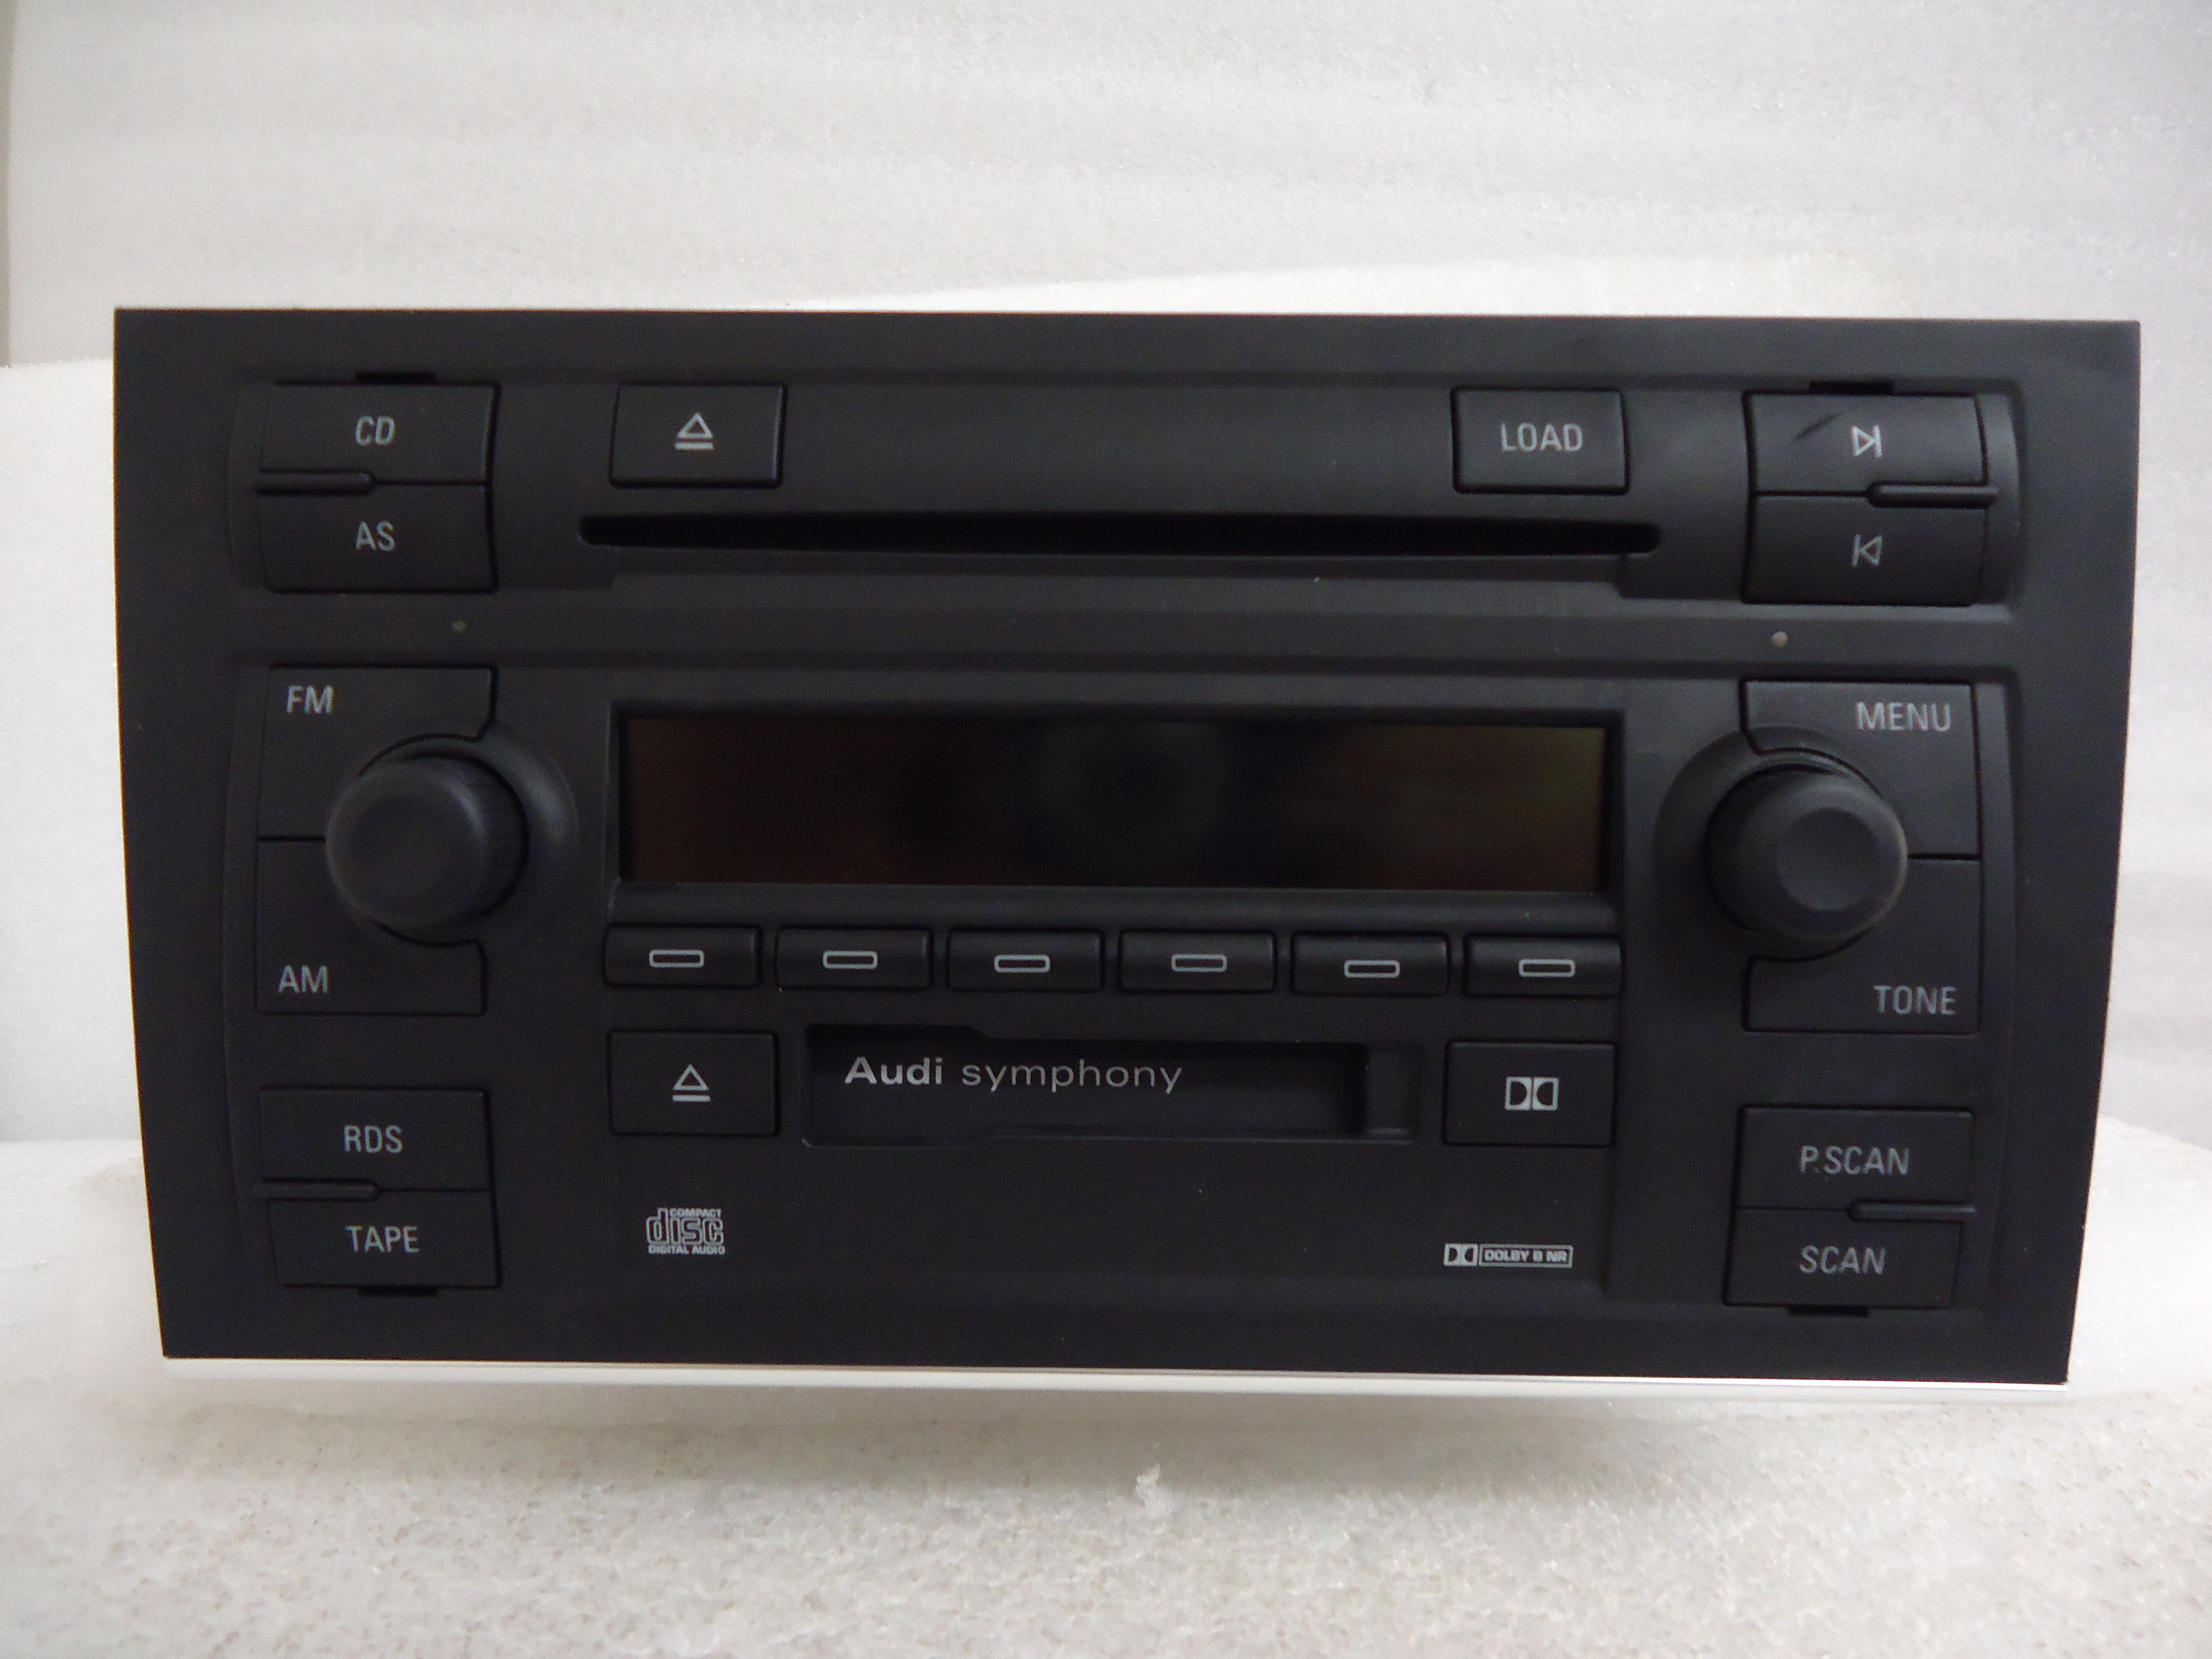
The faceplate is held into place by four small screws and a number of tabs. The faceplate is very easily removed, the only tools you will need are a phillips-head and flat-head screwdriver.
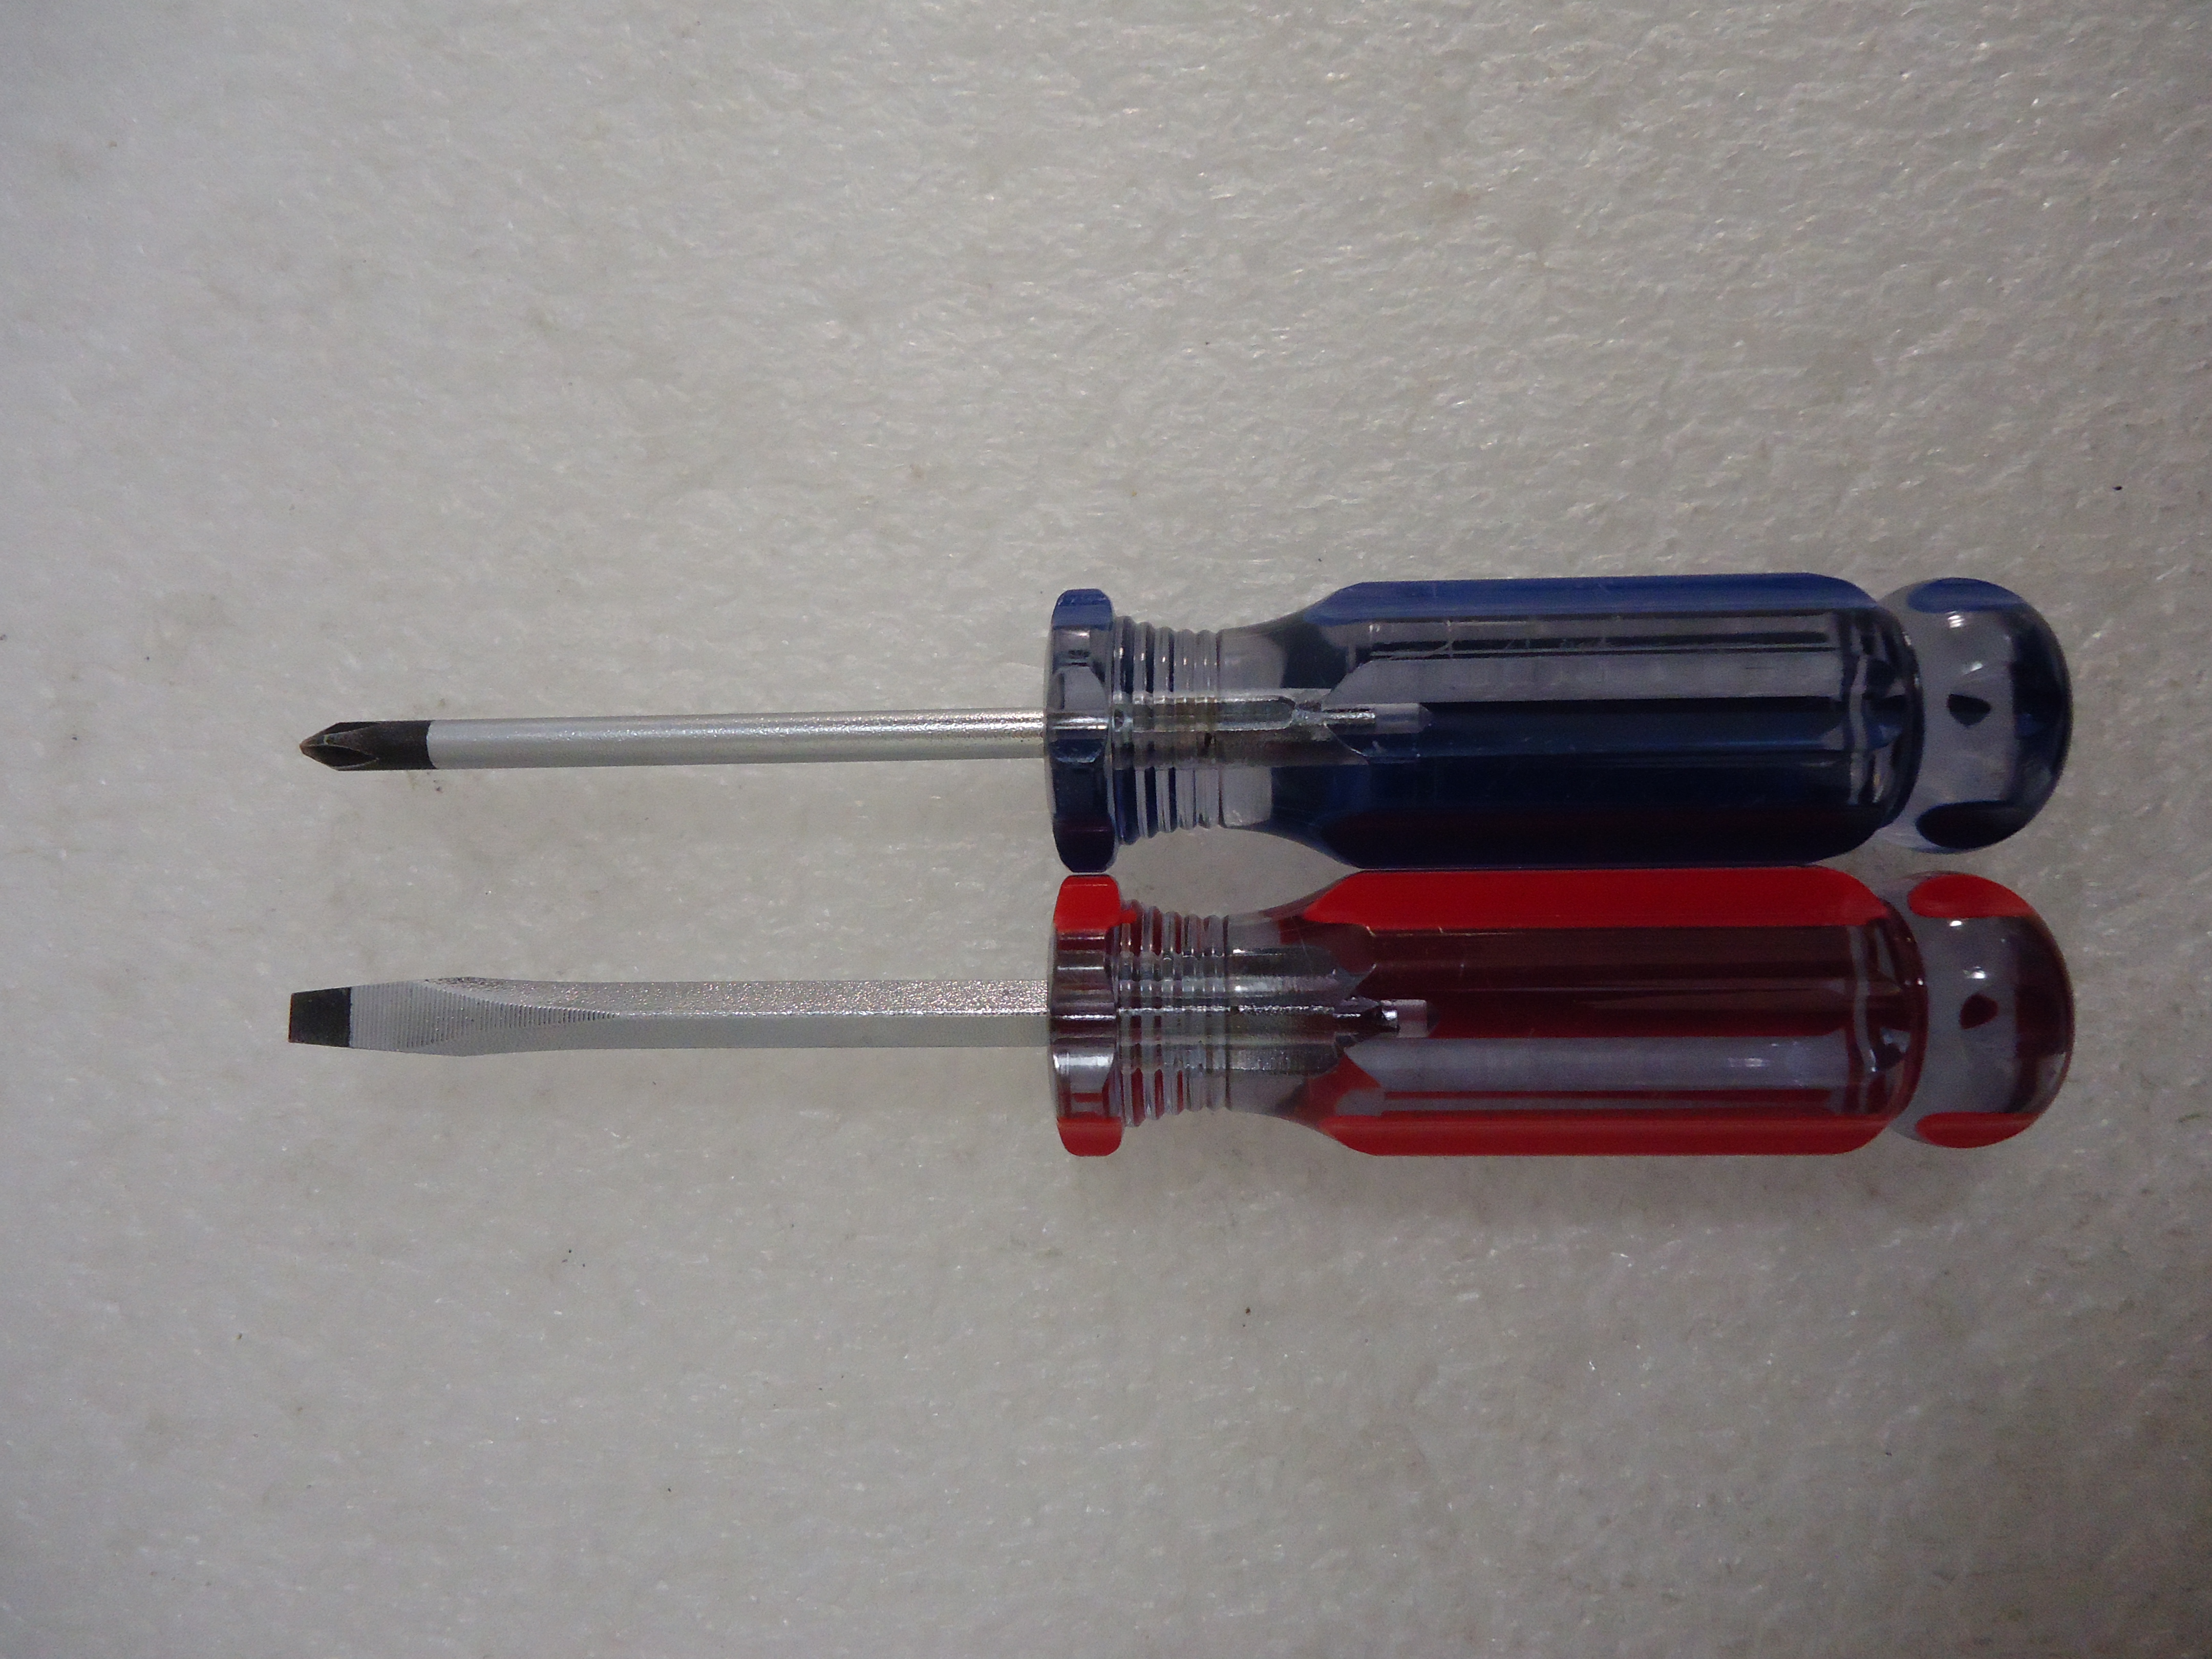
Use the phillips-head to remove the four small screws that secure the faceplate to the block. There are two screws on the right side, and two screws on the left side. (Set screws aside, and re-use to install new faceplate) 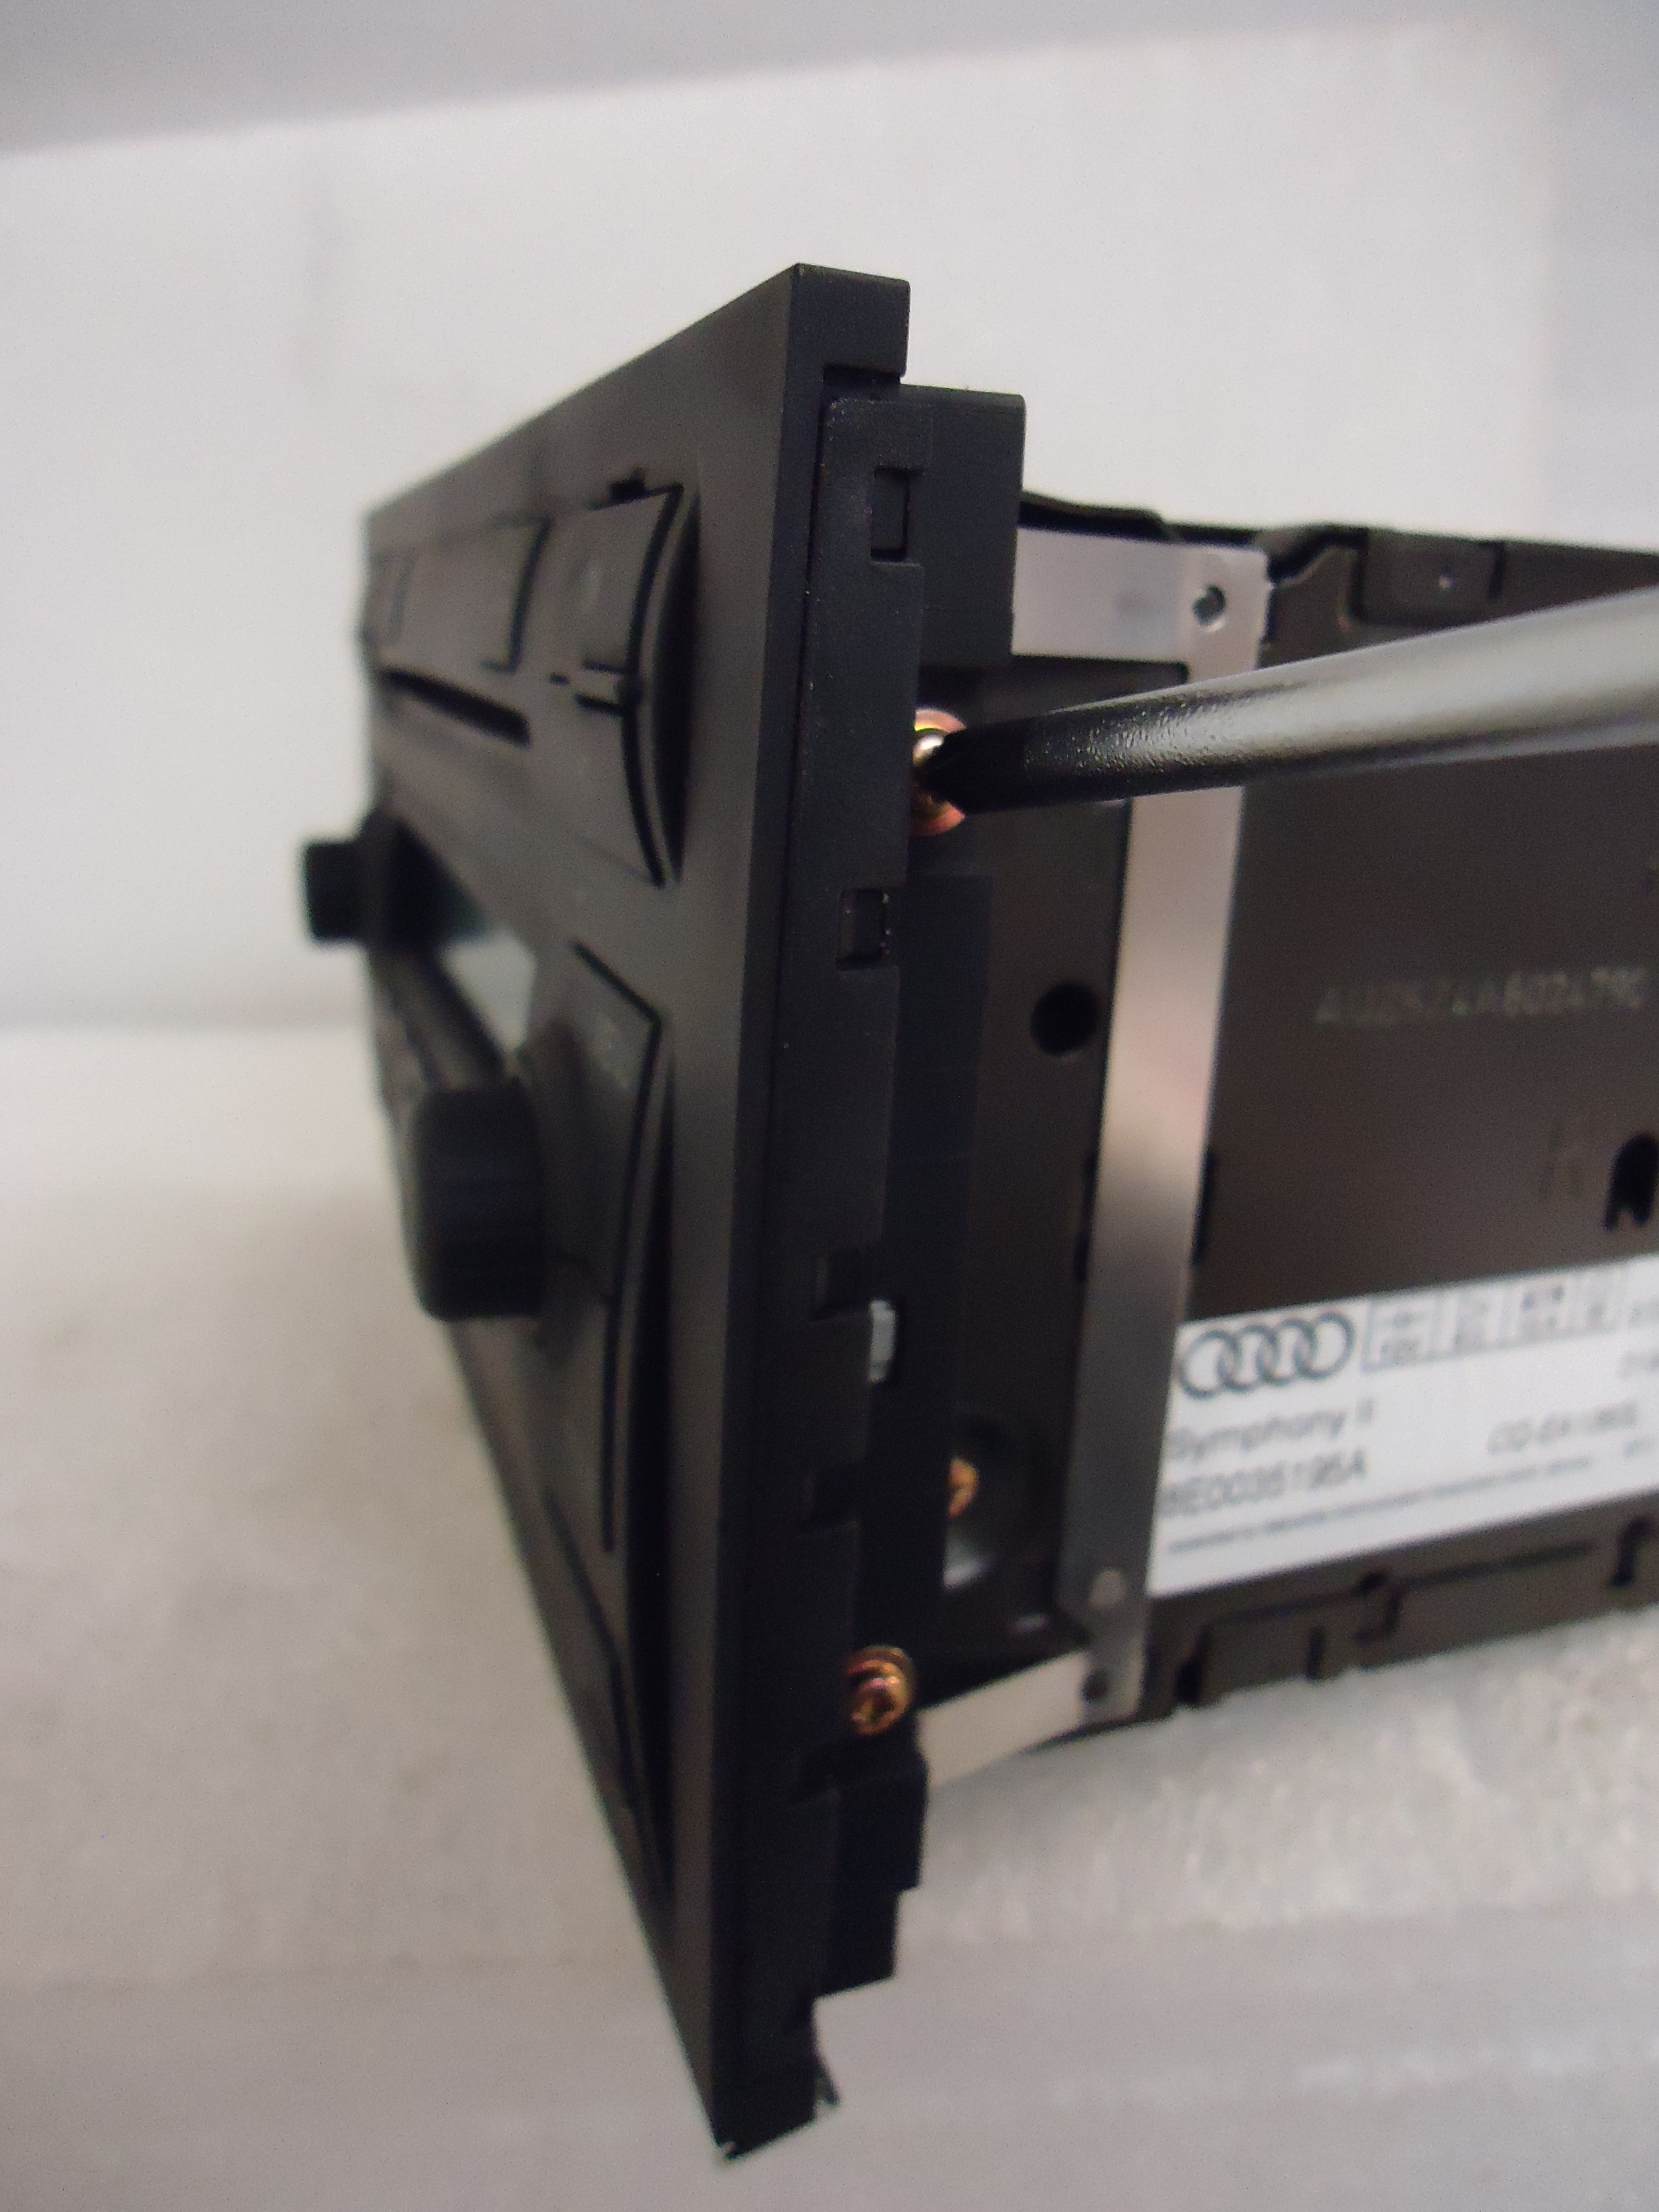
Gently pry, using the flathead screwdriver to release the tabs. Follow around the body releasing tabs on all sides of the faceplate.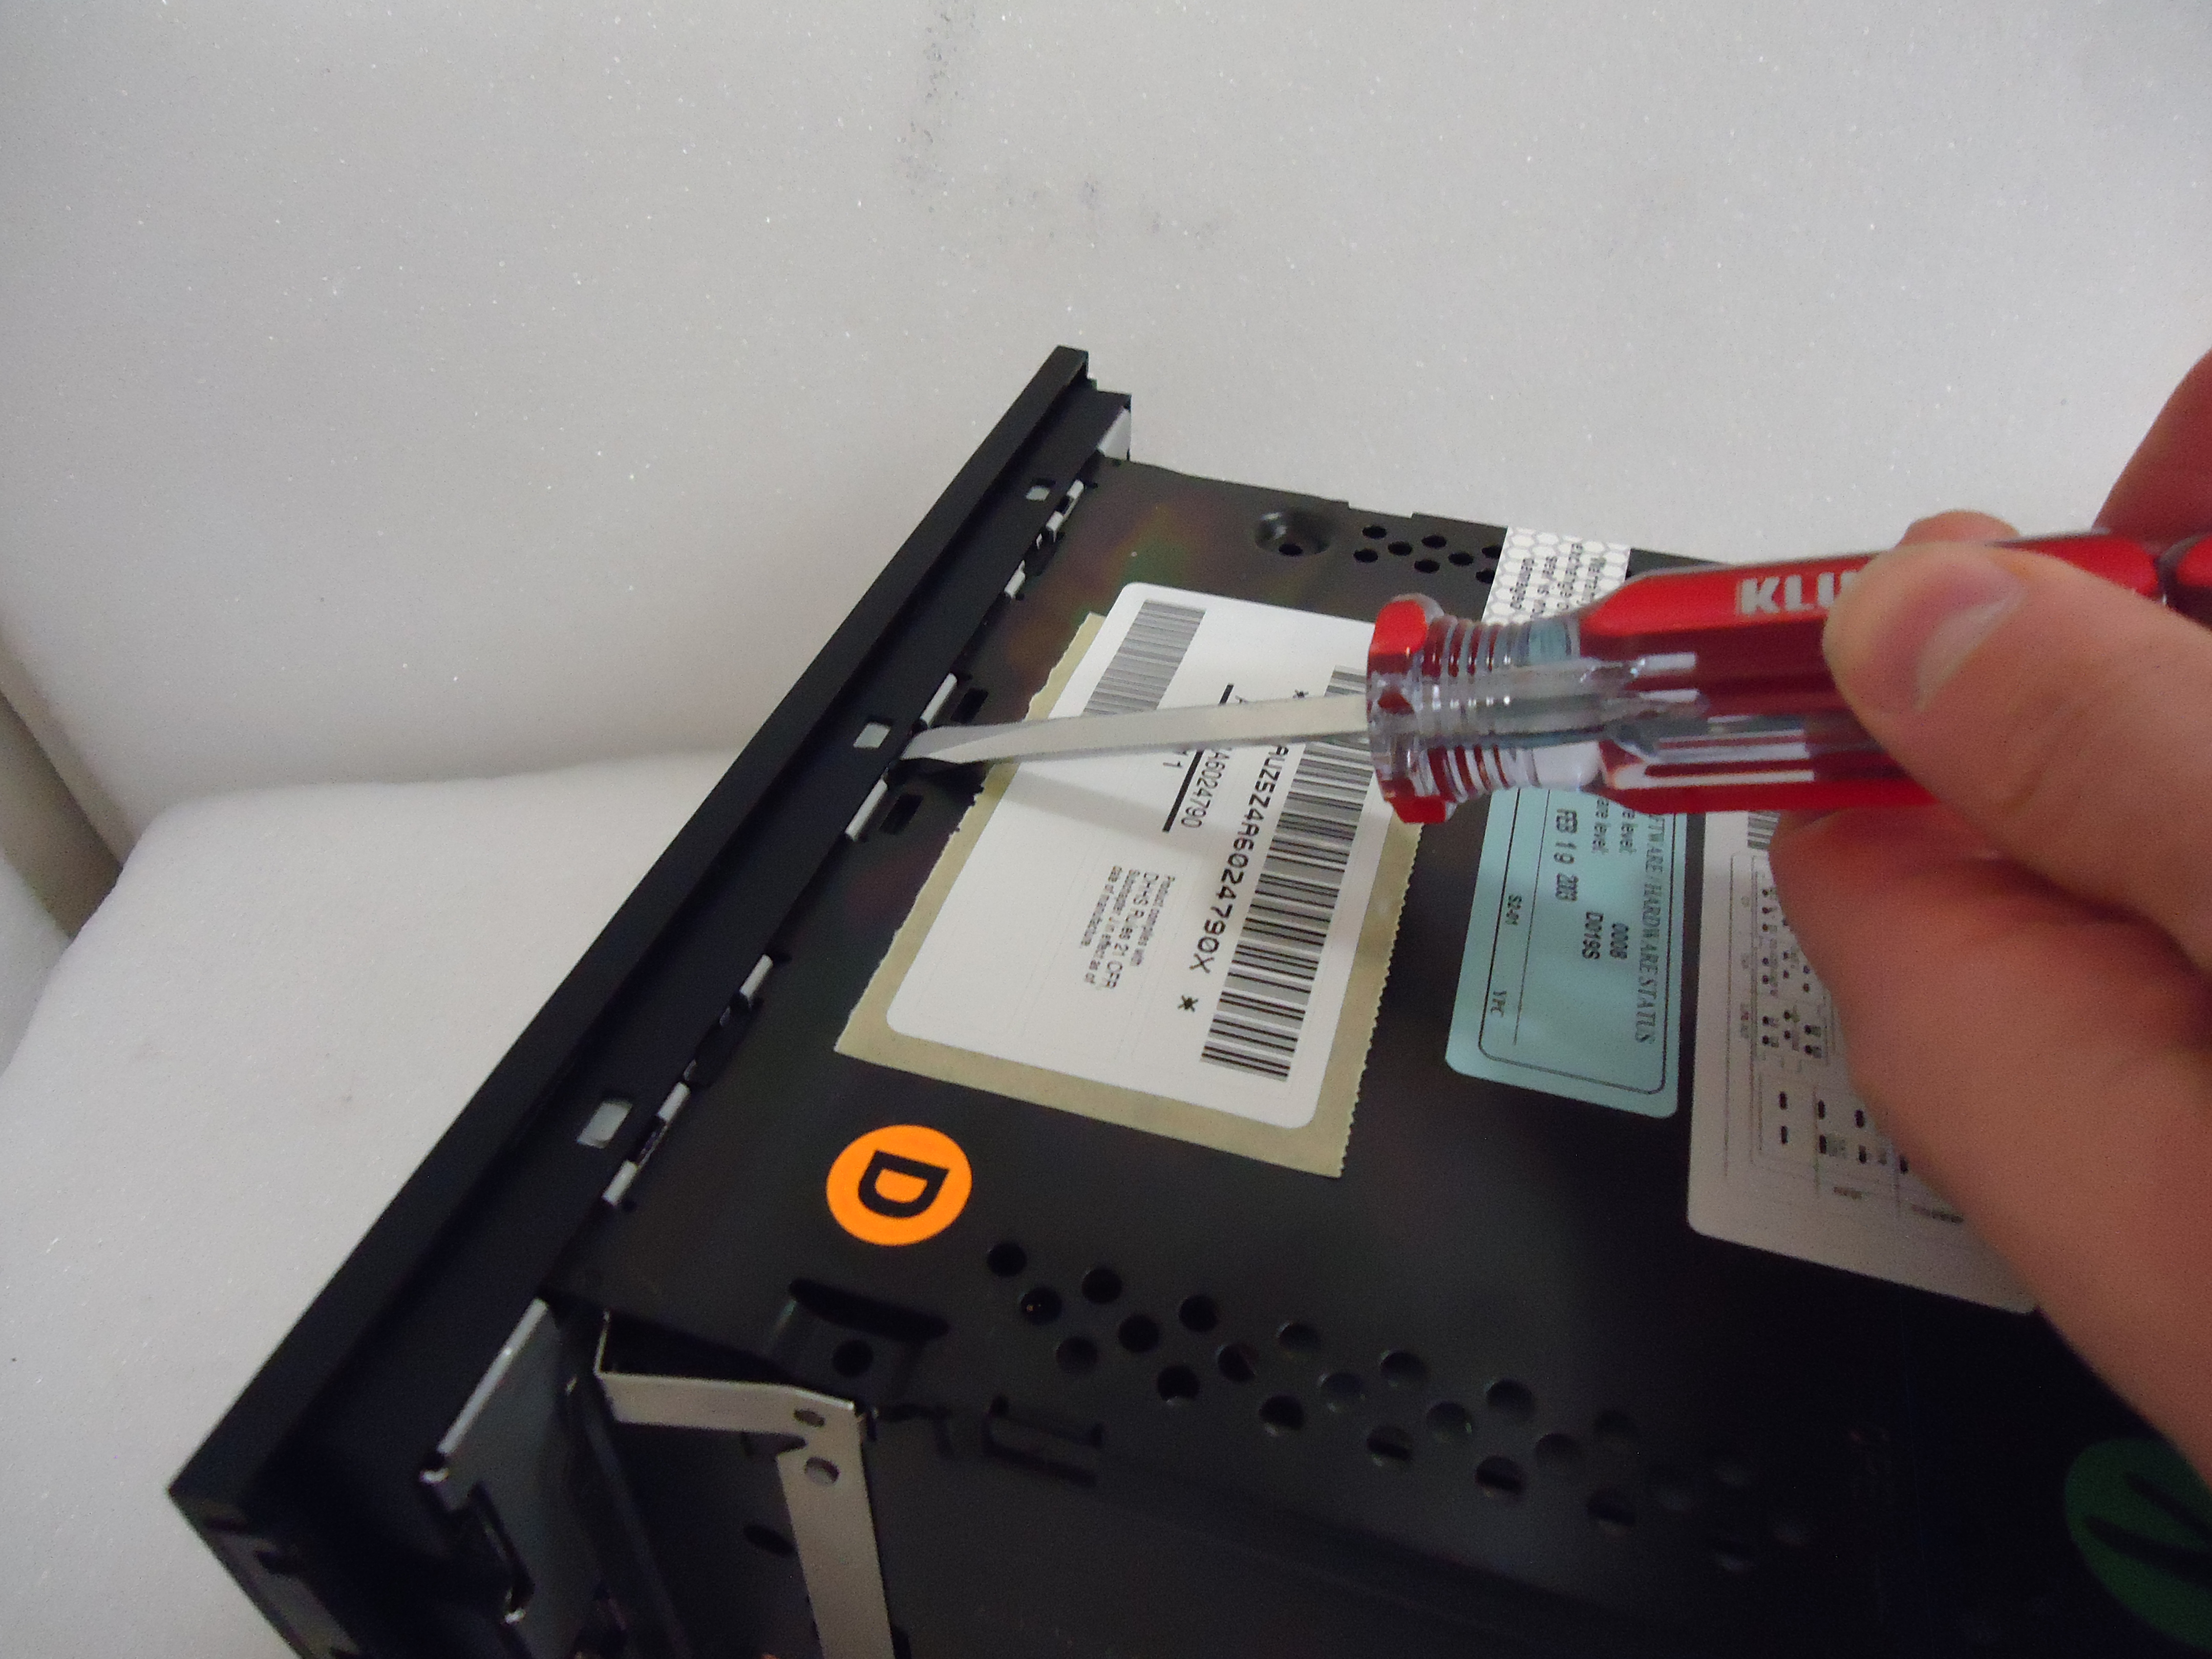
Once all tabs are released, gently remove the faceplate. 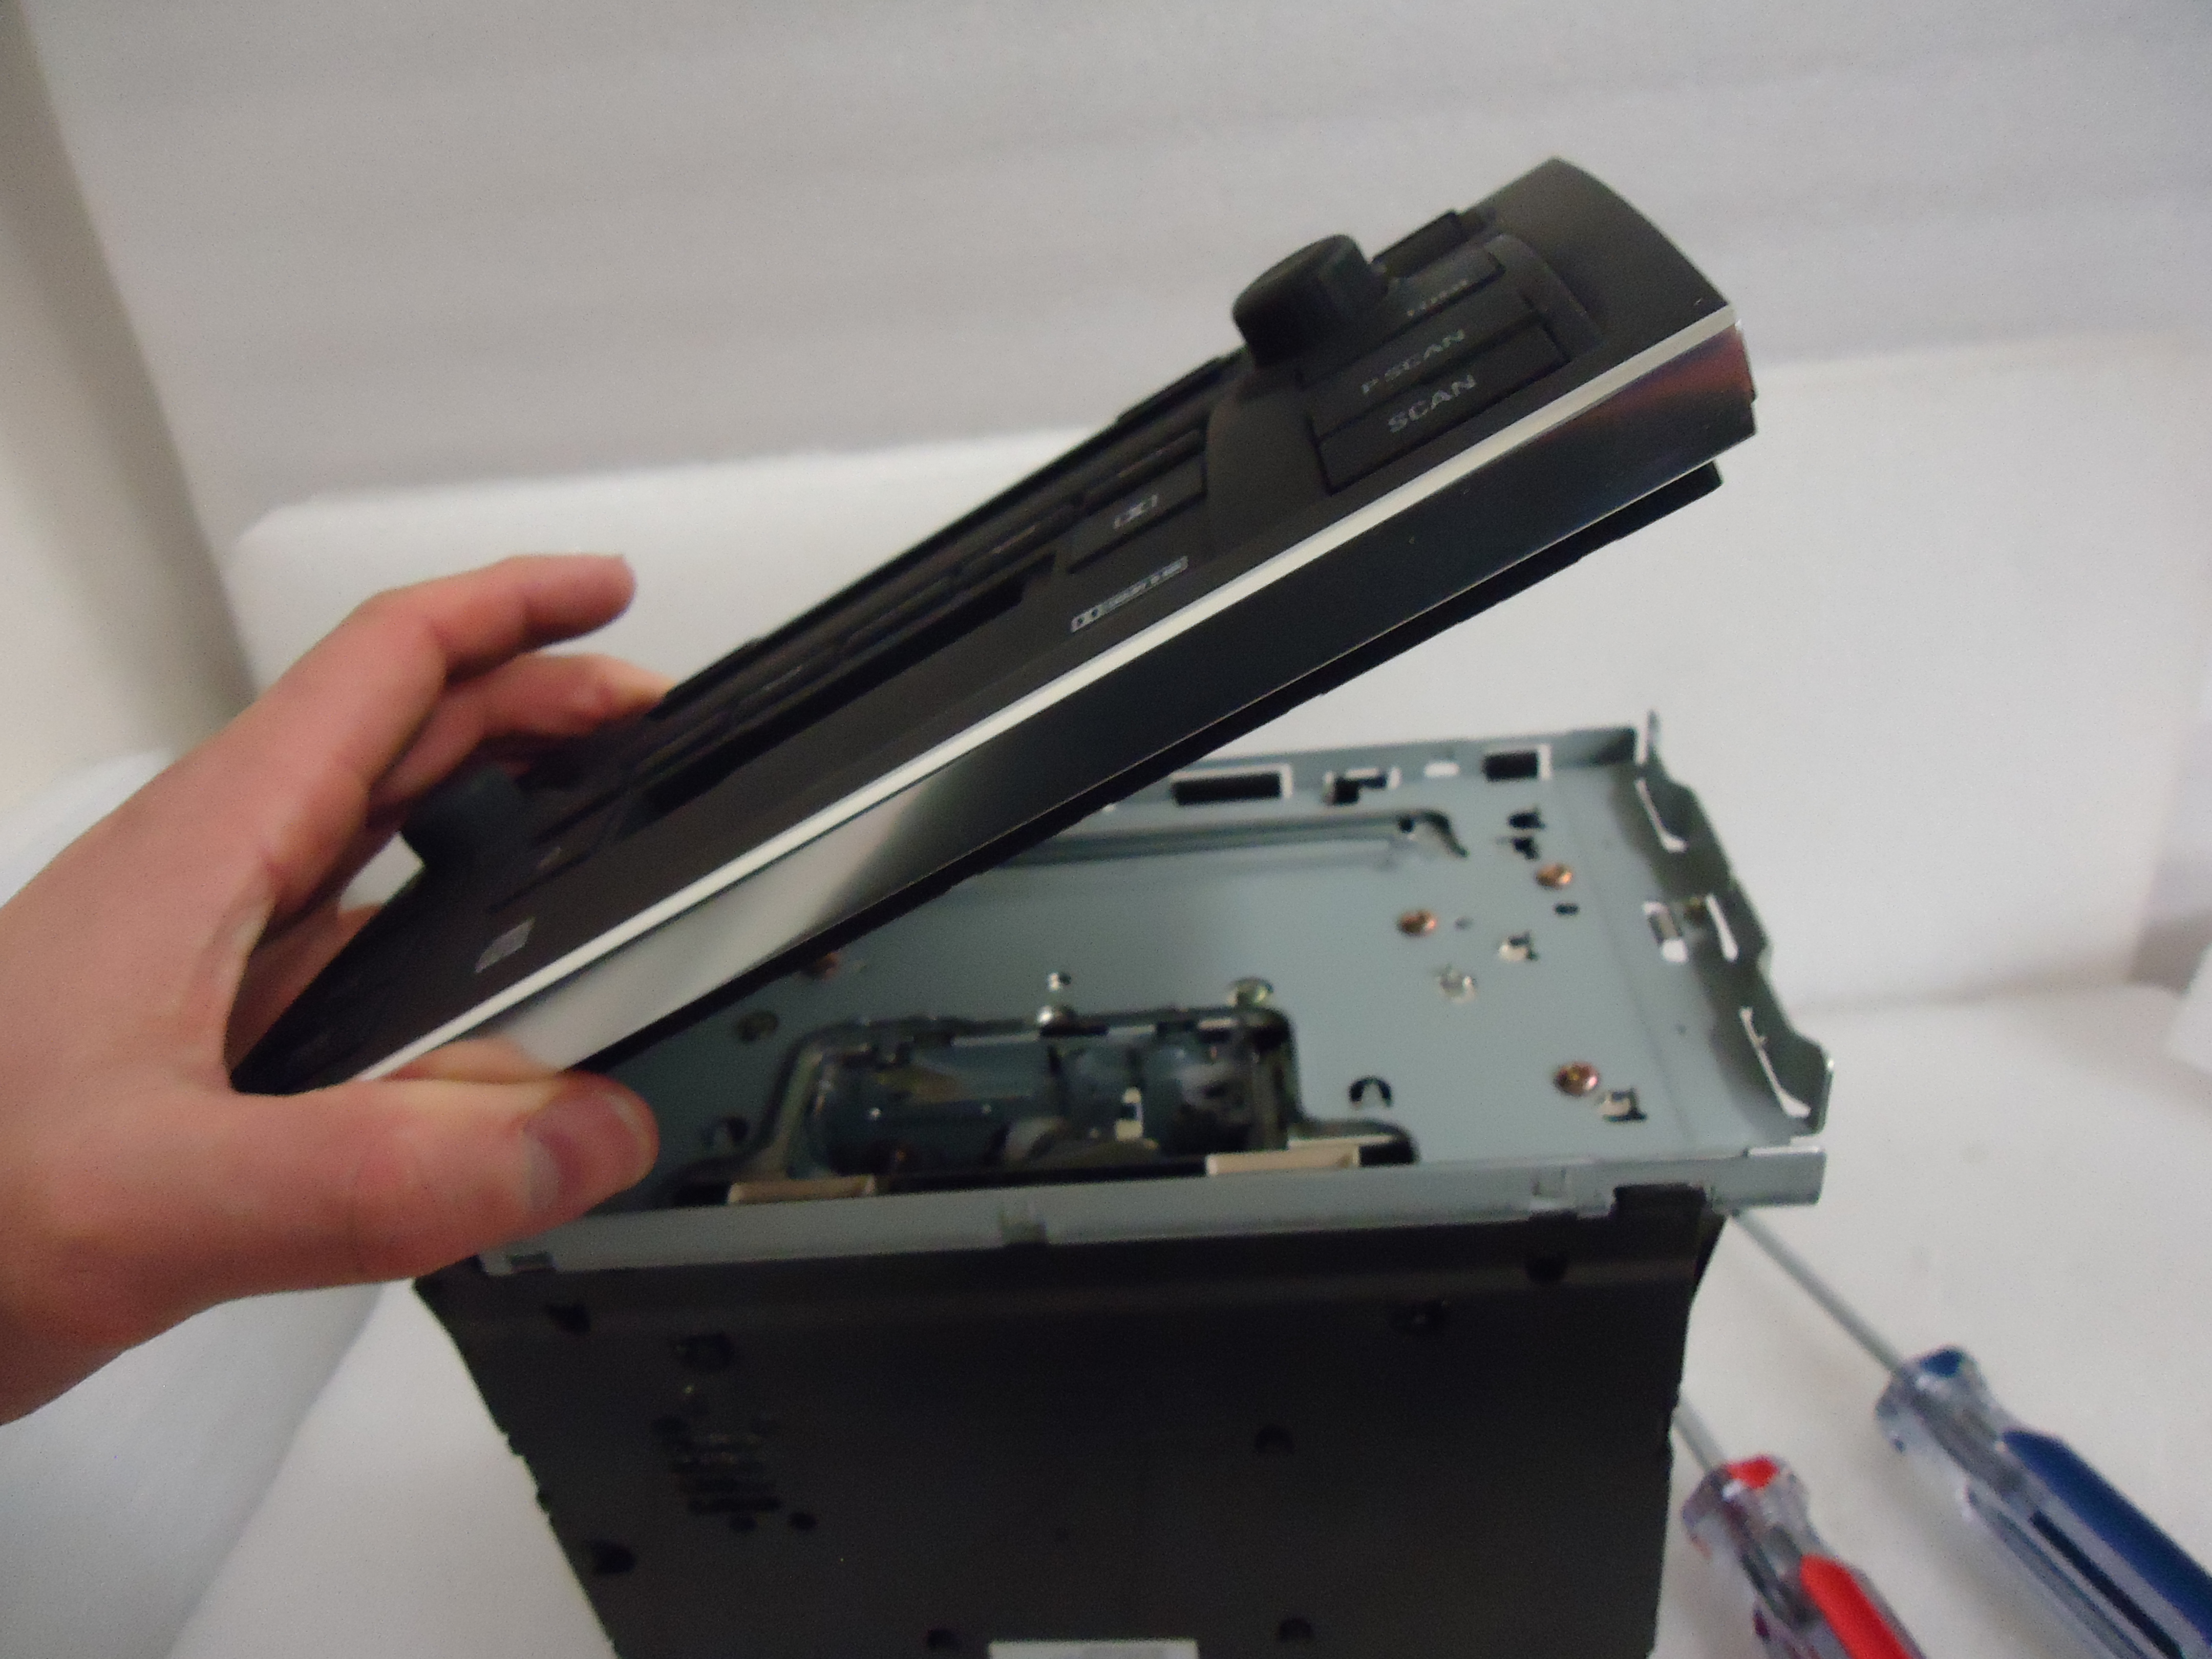
To install the new faceplate, simply reverse instructions. Carefully snap into place using the tabs. Take the four screws you previously set aside and screw them back in with the phillips head screwdriver. You have now replaced your faceplate!
One point to note, is that since the motherboard on the radio was not replaced, the security code will remain the same as it was originally.
If you're looking for the link to purchase a new faceplate replacement, please CLICK HERE.
